|
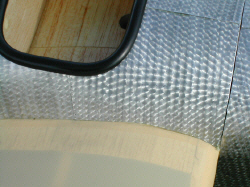
Wendy Begins...STEP 1: Fuselage Templates My
first step was to create a template for each panel using manila file
folder paper. This paper is
pliable enough to go around curves. The fuselage panels were straight forward since the Taube
fuselage is nearly flat on the sides and the bottom.
The side panels of the fuselage were created using the same technique. Be sure to start
at back of the fuselage and overlap each panel 1/16th inch as
you move towards front. Side panels were not the same width as they progressed from
back to the front. I made sure to duplicate the panel sizes
on each side. The
Taube fuselage has an upward sloping front. Instead of measuring with the steel scale, I laid a piece of manila
file folder on the front of fuselage and traced the sloping outline onto
back of my template
with a pencil. Trim
to fit and tape to fuselage. Once
all of templates are fitted to your satisfaction and taped onto the fuselage
take a few minutes to admire your handy work. Note: I didn't create a panel for front of fuselage. However I sealed balsa with epoxy and applied it to the balsa nose of the Taube. When cured I applied Flite-Metal directly to the harden balsa. (Allow a 1/8 inch overlap on sides and bottom of the each panel). |
